Explore a dataset
This tutorial will guide you through the process of exploring data in a dataset using DashAI.
With Explorations, you can visualize and analyze your dataset to gain insights into its structure and content. This is particularly useful for understanding the data before and after applying any transformations or training models.
Prerequisites
Before starting, make sure you have:
A dataset uploaded to DashAI
Step-by-Step Guide
1. Access the Datasets section

Navigate to the dataset section in DashAI to access the dataset you want to explore.
2. Open the Dataset Summary
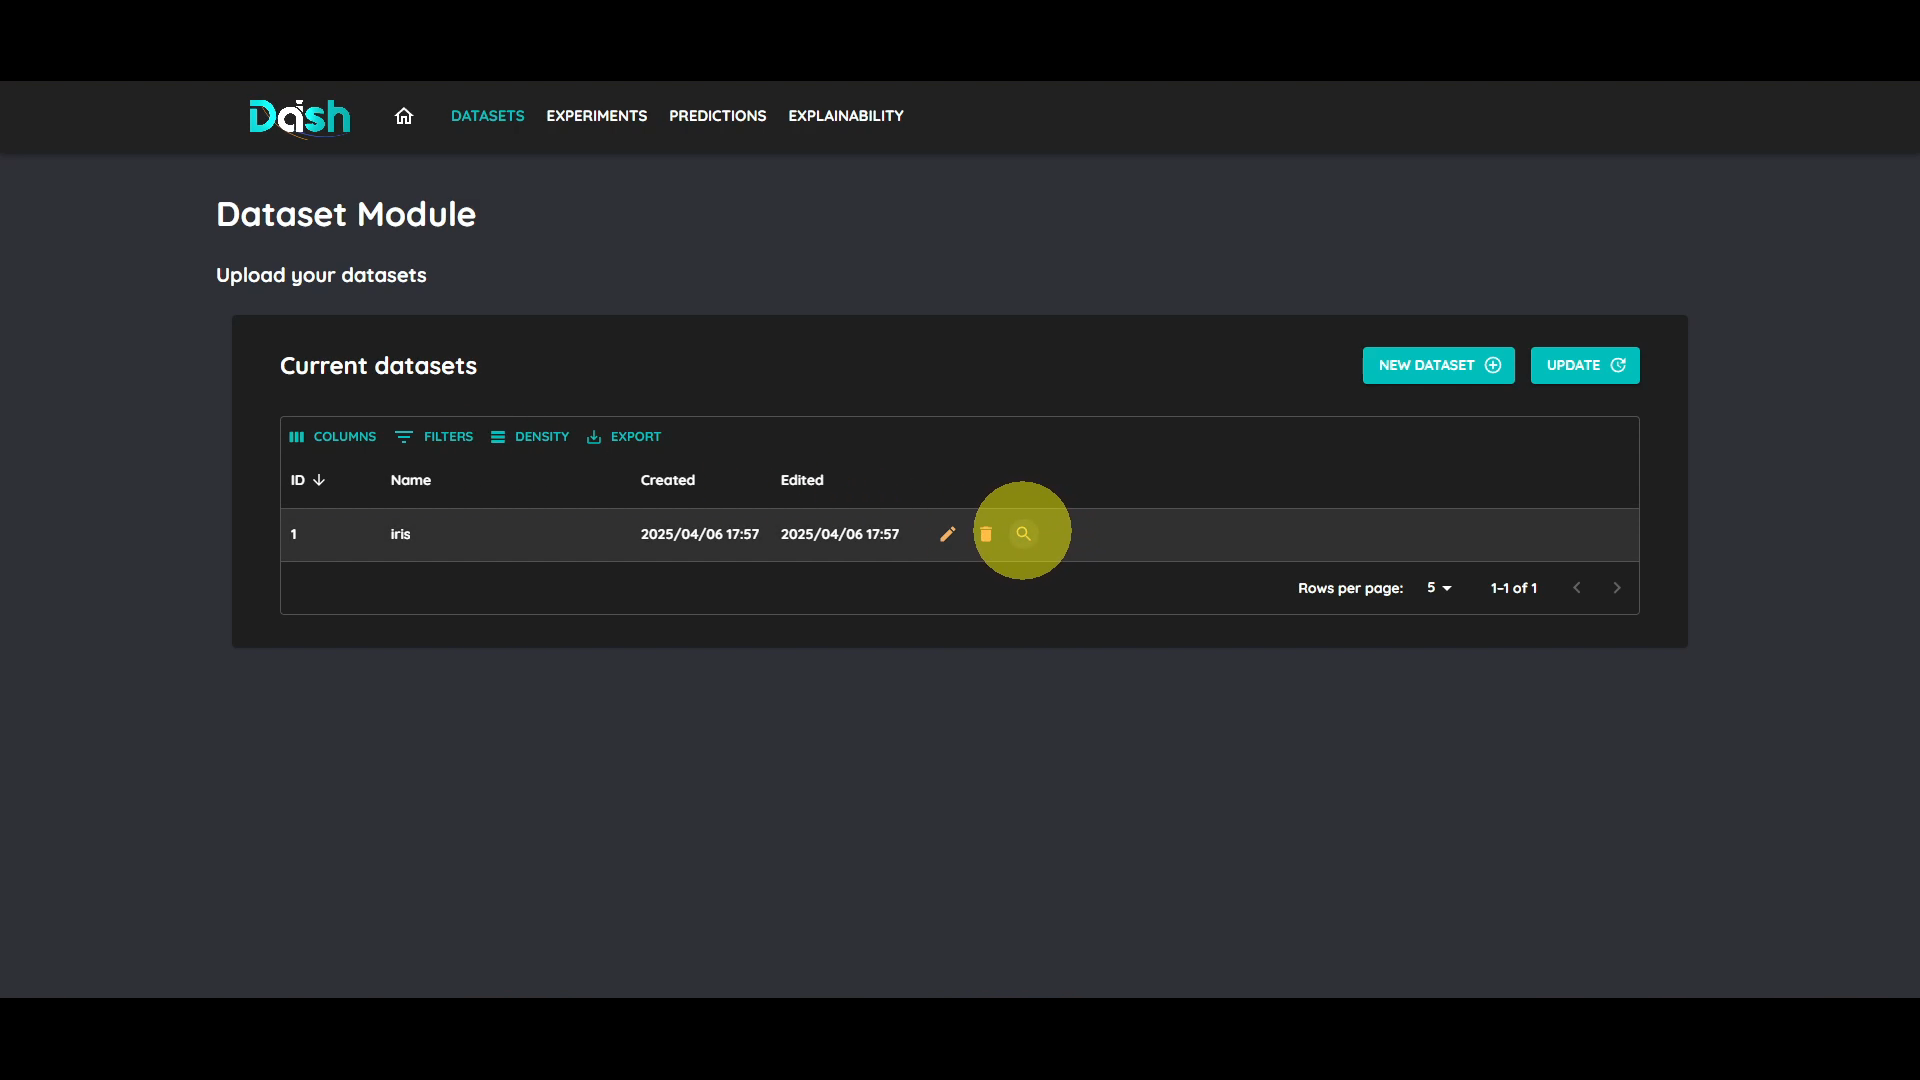
Click on the search icon of the dataset row to access its summary.
3. Open the Exploration Module
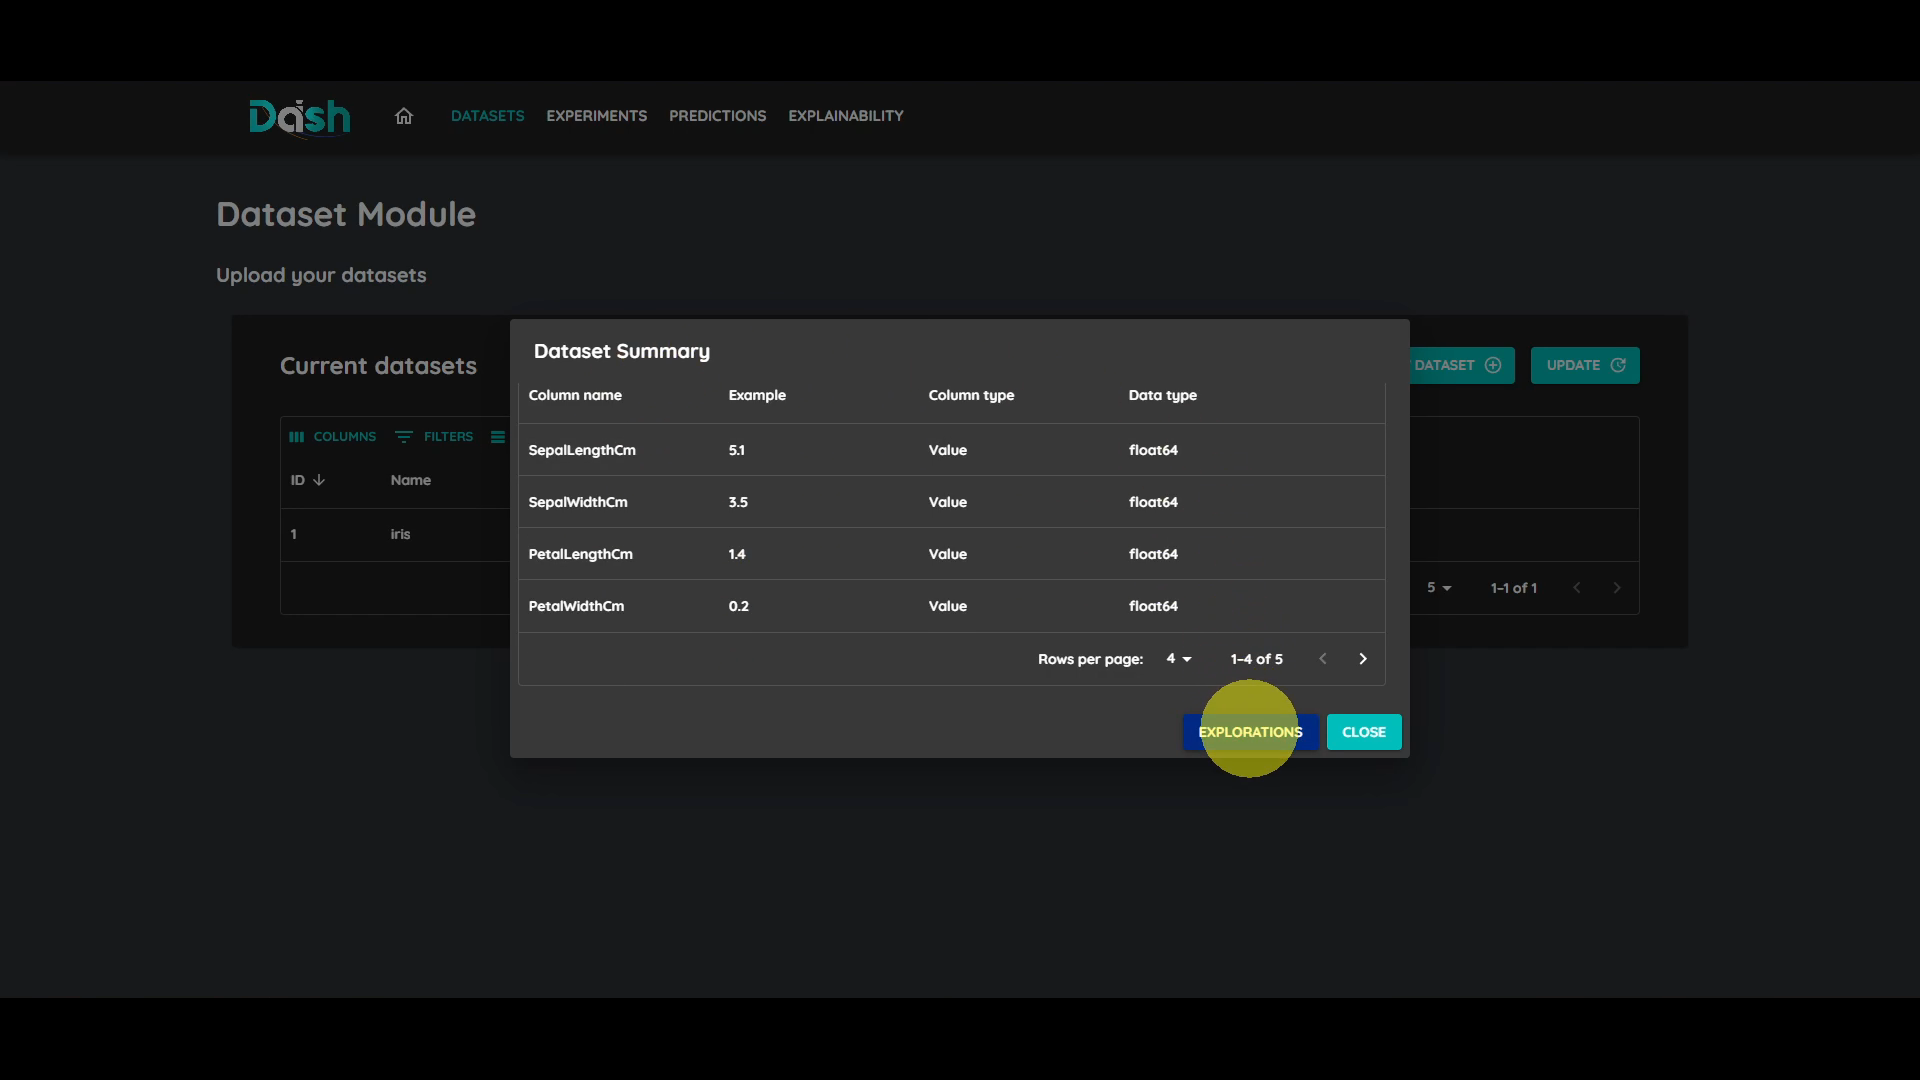
Click “Explorations”.
4. Create a New Exploration
Here you have access to all previously created explorations of the dataset.
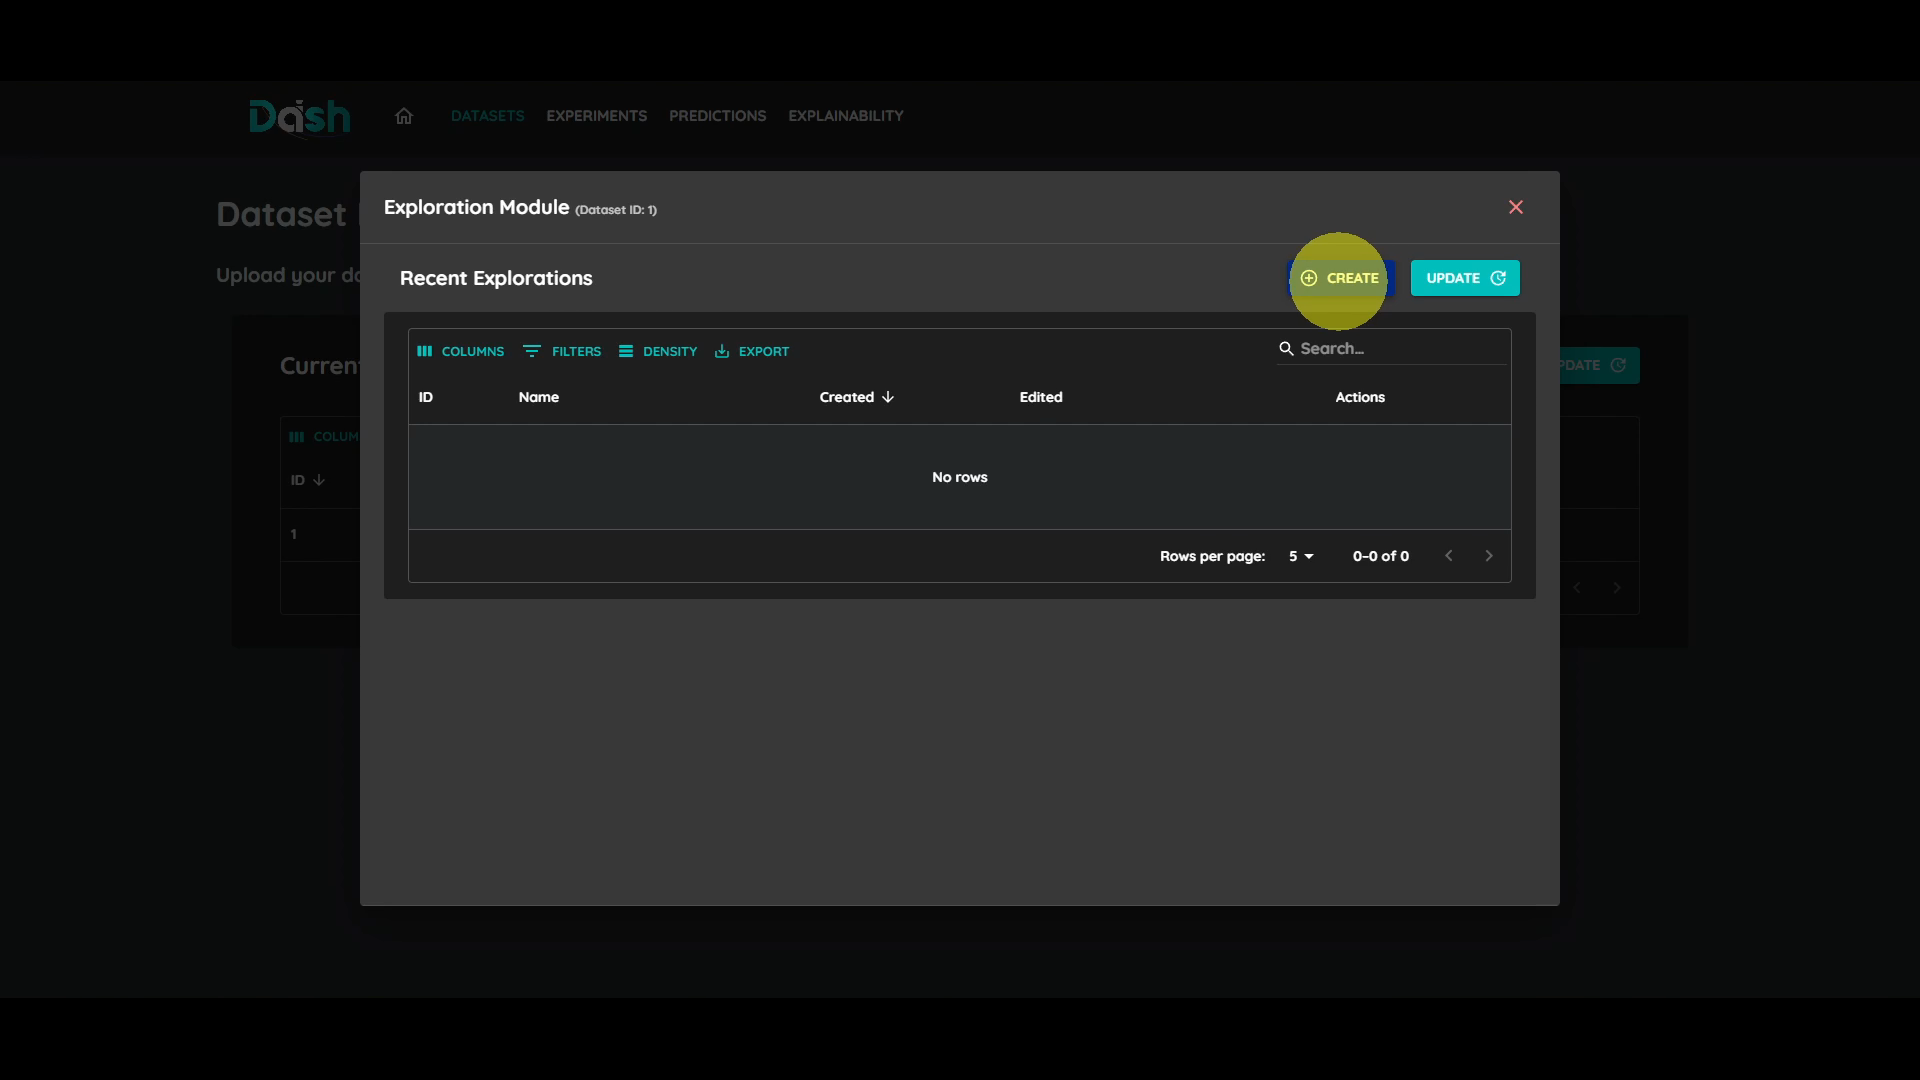
Click “Create” to start creating your exploration.
5. Set a Name for the Exploration

Write a name for your exploration.
Optionally, you can set a description for the exploration.
Click “Next” to proceed.
6. Add Explorers to the Exploration
Use the selector to choose the explorer you want to add to the exploration. Hover over the options to see a description of what it does.
Optionally, you can set a name for the explorer to differentiate it from others.
Click “Add” to add the explorer to the exploration.
You may repeat this step to add more explorers to the exploration.
7. Configure the Explorer
When explorers gets added, They are configured automatically. You can configure them to suit your needs through the actions available in their rows.
Click on the columns icon to edit the columns used by the explorer.
Click on each row to toggle the columns you want to use.
Select them on the order you want them to be used (if needed by the explorer).
Click the back arrow or outside the modal to go back to the explorer list and apply the changes.
Click the gear icon to edit the explorer parameters.
The available parameters will depend on the explorer you selected.
Hover over the help icon to see a description of each parameter.
To cancel the changes, click the “Back” button or outside the modal. Otherwise, click the back arrow or “Save” button to apply the changes.
8. Save the Exploration
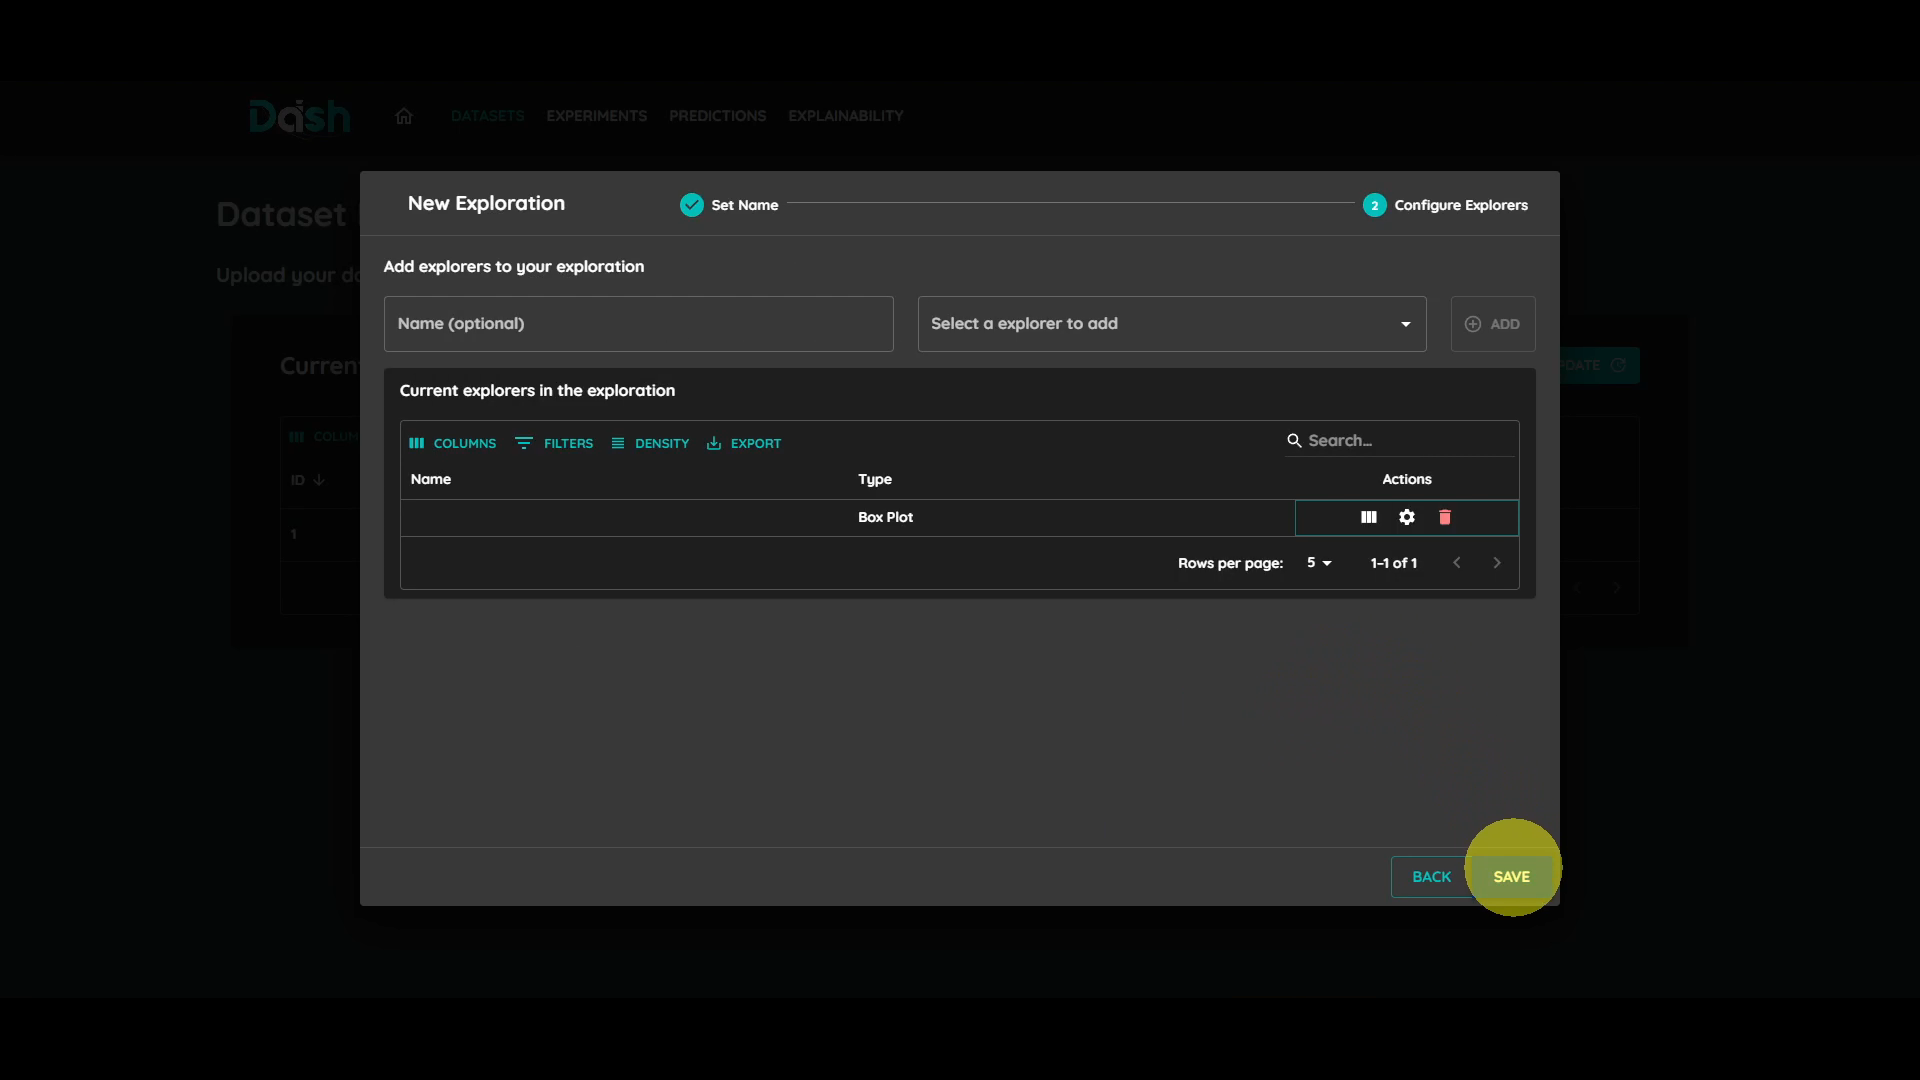
After configuring the explorers, you can save the exploration by clicking the “Save” button.
9. Run the Exploration

Click the play icon to open the runner modal.
Select the explorers you want to run.
Click “Start” to start running the selected explorers as a background task.
Click “Finish” to close the modal.
10. View the Results
Click the query-stats icon to view all the results of the exploration.
Here you will see the available results of all the explorers you ran.
Note
You can switch to see more details about each explorer with the following steps:
Click “By Explorer” to see the a list of all the explorers in the exploration.
Click the info icon of the explorer you want to see the details of.
Here you also have access to see the explorer details, including the parameters used and the columns selected.
Tips and Best Practices
Read the documentation of each explorer to understand its purpose.
Use the help icon to get more information about each explorer and its parameters.
Try different explorers to gain insights into your dataset.
The editing process follow the same steps as the creation process, so you can edit the explorers mostly the same way you created them.
Troubleshooting
If running an explorer fails, check the parameters and columns selected.
If you cannot save a column configuration, ensure your selection satisfies the explorer’s requirements.
After you have made changes to datasets, you need to re-run the explorers to see the updated results. This will overwrite the previous results.
If you encounter errors, check the logs for more information.